
title

:: me! ::
- Leslie C
- CAN'T LIVE WITHOUT: Family. Friends. Hounds. Books. The Beach. Autumn. Cameras. Computer. iPhone. The color orange. Caramel frappucino. The words "dude!" and "nice!". Oh...and world peace ;-)
follow me
pin it

13 November 2014
:: washington dc newborn photographer | {sweet baby O} ::
How lucky was I to cuddle with this sweet baby girl? And to work with the calmest newborn parents I've ever met? Thank you A + P, for inviting me into your home and letting me photograph your beautiful family. Next time...the furry children too

17 October 2014
:: fall mini preview | {g family} ::
I had soooo much fun with this squeeza-licious little lady! She is everything and more. There was no doubt who was in charge of the photo session :-) It also helped that her lovely parents are the nicest, happiest people in the world.

:: fall mini preview | {k+b+k+m} ::
Can you believe all the cuteness??? Here is a preview of this adorable family's Fall Mini...

:: fall mini preview | {I family} ::
The awesome I Family and their faithful terrier. Thanks, J and R for keeping me on my toes!!!

16 October 2014
:: fall mini preview | {G+A+L} ::
The best part of offering mini sessions every year is the perk of seeing my littlest clients grow up. Here is a preview of the beautiful G and her not-so-littles from our Fall Mini Session :-)

15 September 2014
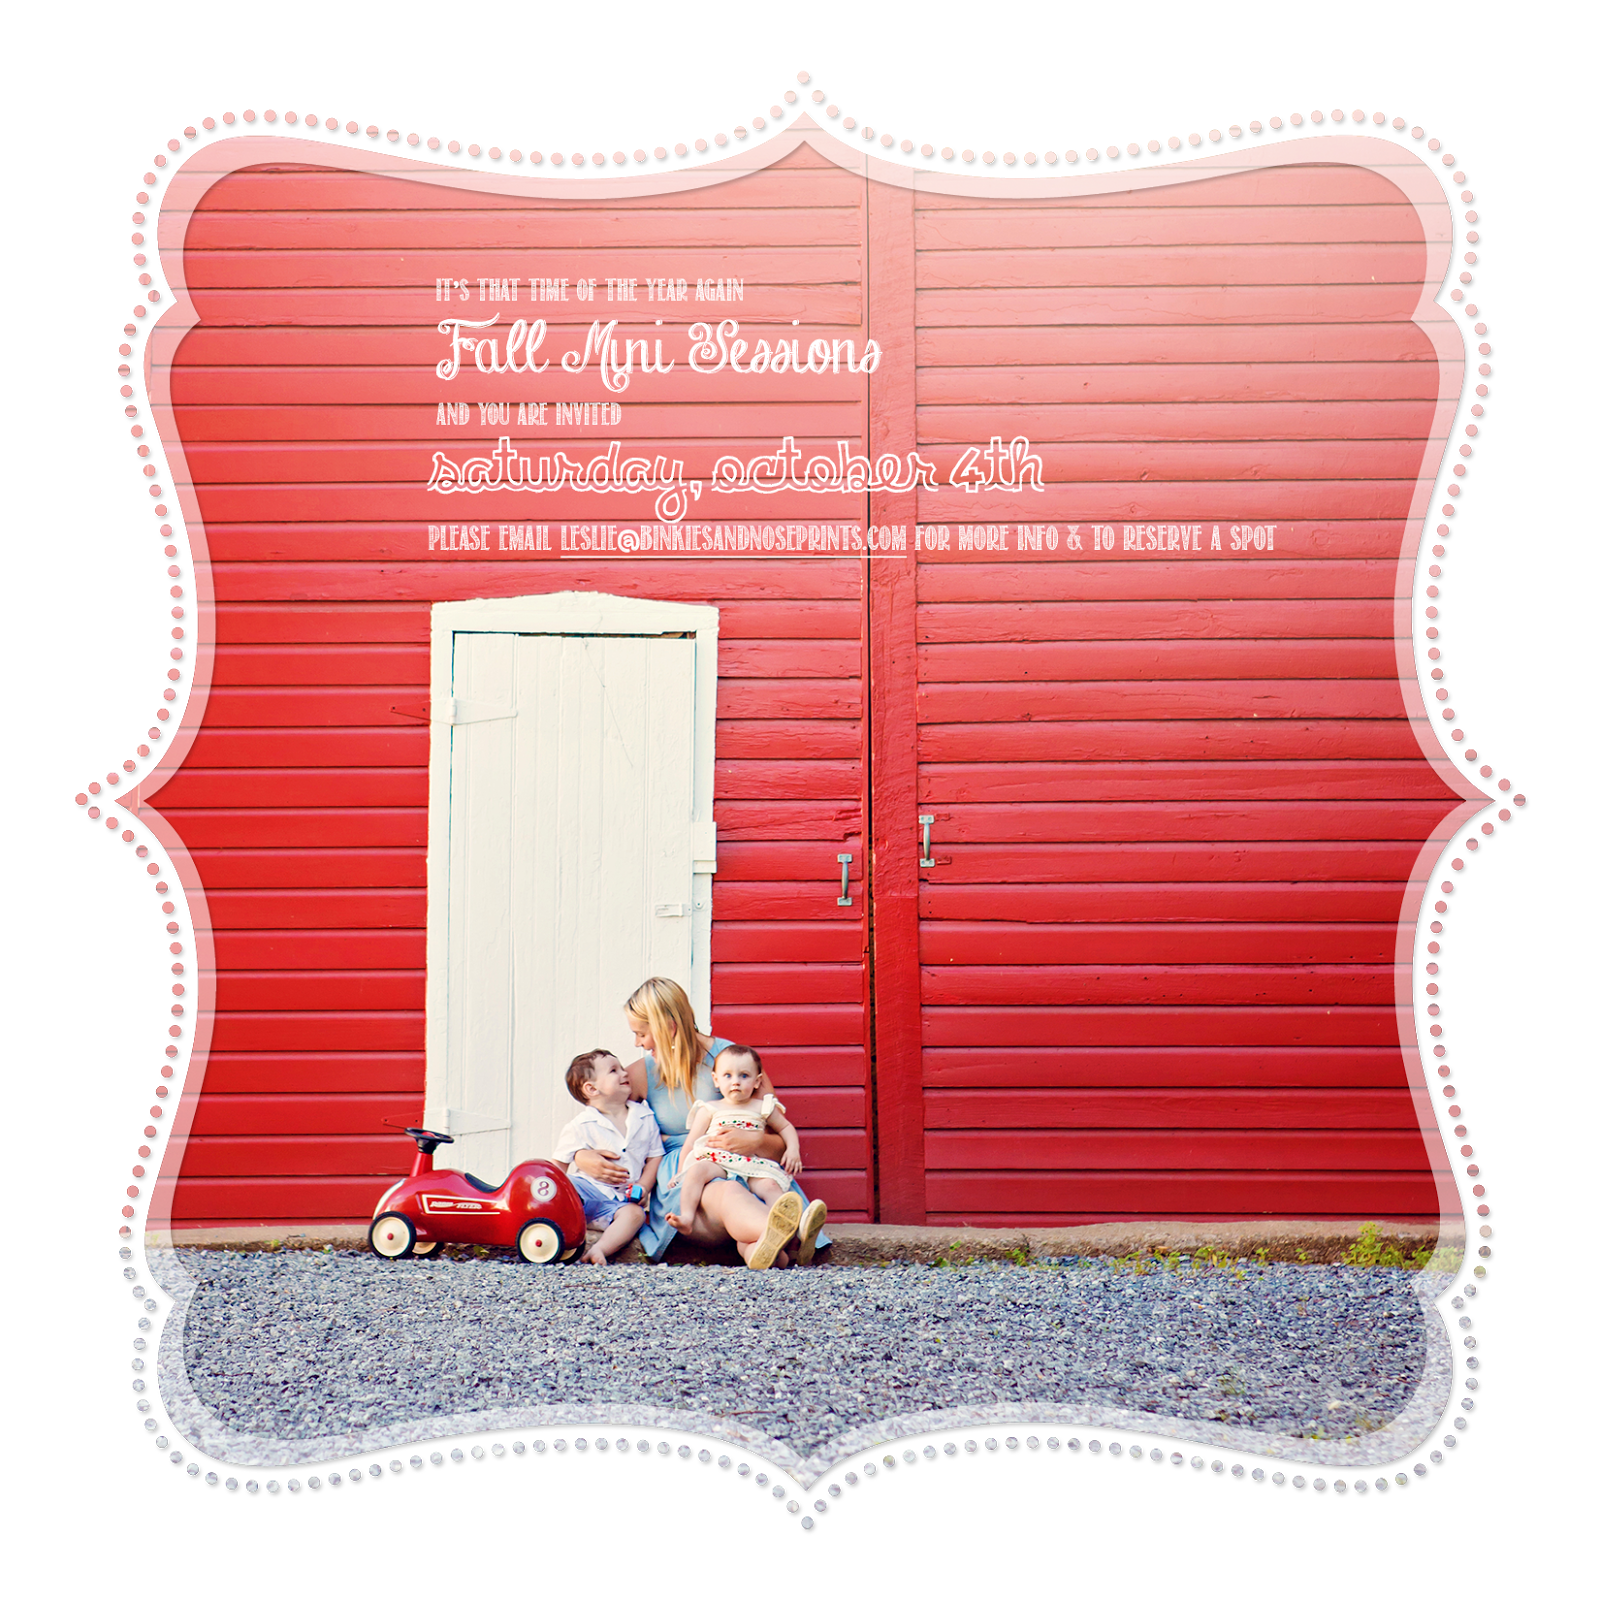
:: fall mini sessions | {saturday, oct 4th} ::
OFFERED ONLY ONCE A YEAR! Come join me for a 15-minute mini photo session. Perfect for busy families on the go. Five digital images to print at your leisure or to use on holiday cards. Please email me (leslie@binkiesandnoseprin
UPDATE: Only 2 spots left as of this morning. Please email soon to reserve your spot! Many thanks!
UPDATE: Only 2 spots left as of this morning. Please email soon to reserve your spot! Many thanks!
05 June 2014

03 June 2014

:: Photography Tips + Tricks : editing in Adobe Lightroom, part 3 ::
Now that I've shown you how to importing your digital images into Lightroom using the Library Module, let's go over some basics of the Develop Module. Before we get into the nitty gritty details of how to edit, we will concentrate on picking which images to edit/develop and how to create a "collection" within LR that will help you categorize those images and allow you to find them faster in the future. Remember, though, a collection is a short cut to help you find your images faster, your images will not be moved from its original place on your hard drive.
1) In the Library Module, navigate to the folder that contains the image(s) you'd like to edit.
2) Carefully survey the images, mark which ones you'd like to edit by highlighting it in the filmstrip at the bottom & hit "p" to flag it as "picked."
3) Once you have flagged your picks, click on the drop-down menu on the right, below the panel.

4) Choose "flagged" from the list & the filmstrip at the bottom will only show images that you've picked.
5) Switch to the Develop Module in the panel to the right.
6) In the panel to the left, click on the drop-down menu "Collections."
7) Click on the "+" sign. A pop-up box appears.
8) In the pop-up, select "create collection set" to set up different categories for organizing your images. I set up three major collections -- CLIENTS, FRIENDS, PERSONAL -- in order to separate my work images from my personal images.
9) Once you've created the collection sets according to your preferences, select/highlight all of the flagged images from the filmstrip.
10) Click on the "+" sign again and choose "create collection."

11) In the dialog box, give the new collection a name. Under "location", click "Inside a Collection Set" and choose the Set under which you'd like to categorize your images. Click "Create."
12) LR will automatically categorize all highlighted images into the new Collection.
13) To add more images to an existing Collection, right-click on the collection that you'd like to amend, choose "Set as Target Collection." You should see a "+" sign next to the collection if you've done it correctly.
14) Highlight the image you'd like to add to the collection, right-click & choose "Add to Target Collection."
15) Now, you are ready to edit the your images!
1) In the Library Module, navigate to the folder that contains the image(s) you'd like to edit.
2) Carefully survey the images, mark which ones you'd like to edit by highlighting it in the filmstrip at the bottom & hit "p" to flag it as "picked."
4) Choose "flagged" from the list & the filmstrip at the bottom will only show images that you've picked.
5) Switch to the Develop Module in the panel to the right.
6) In the panel to the left, click on the drop-down menu "Collections."
7) Click on the "+" sign. A pop-up box appears.
8) In the pop-up, select "create collection set" to set up different categories for organizing your images. I set up three major collections -- CLIENTS, FRIENDS, PERSONAL -- in order to separate my work images from my personal images.
9) Once you've created the collection sets according to your preferences, select/highlight all of the flagged images from the filmstrip.
10) Click on the "+" sign again and choose "create collection."
11) In the dialog box, give the new collection a name. Under "location", click "Inside a Collection Set" and choose the Set under which you'd like to categorize your images. Click "Create."
12) LR will automatically categorize all highlighted images into the new Collection.
13) To add more images to an existing Collection, right-click on the collection that you'd like to amend, choose "Set as Target Collection." You should see a "+" sign next to the collection if you've done it correctly.
14) Highlight the image you'd like to add to the collection, right-click & choose "Add to Target Collection."
15) Now, you are ready to edit the your images!
02 June 2014

28 May 2014

27 May 2014
26 May 2014

23 May 2014

22 May 2014

20 May 2014
:: Photography Tips + Tricks: editing in Adobe Lightroom, part 2 ::
Happy Tips + Tricks Tuesday!!! Last week, I talked about the benefits of using Lightroom to edit your digital images. This week, I'd like to show you how I import my images into LR from my memory card. Of course, these suggestions are part of my workflow; others may do things differently according to their workflow preferences.
Importing your images from the camera/memory card into your computer is the one single most important step of the LR editing process. How you organize your files on your hard drive will determine the success of your overall workflow. Be rigorous. Be consistent. Most people organize their images by the date, one folder for each month of the year (April 2014, for instance).
*IMPORTANT: Once you've imported the files into your computer using LR, changing the names of your files, changing file structure or moving the folders around on your hard drive could be potentially disastrous, since LR won't be able to find the original files. You'll end up spending hours on remapping and relocating the files in LR.*
1) To maximize the capabilities of LR, try shooting in the RAW format, instead of JPEG. Most DSLRs and some Point-N-Shoots offer RAW. The RAW format takes up more room on your hard drive, but you will have more editing options in LR.
2) Once you've opened up LR, you will be in the "Library" module by default if this is the first time you're using LR. If not, click on the "Library" tab at the upper right of your screen. Your latest edits will be on the screen by default.

3) Click on the "Import..." button at the bottom left of your screen. The import window will pop up.

4) To import files that are already on your hard drive, set the import mode at the top of the window to "Add" so you could add a file to the LR catalog, without creating another copy of it on your hard drive.
5) To import files from your camera or memory card, set the import mode to "Copy" so the files are copied onto your hard drive and added to the LR catalog. The original files stay on the camera or memory card.
6) I do not suggest using the "Move" mode because your files are moved, not copied, from one location (camera, memory card or hard drive) to another. Essentially, the file is deleted from its original location and relocated to the new location in one step. It always makes me nervous to have just one copy of anything. It's always safer to make sure that the copy has arrived at its new location before deleting the original.
7) Choose the source FROM which to import in the source panel on the left (camera, memory card or hard drive). Choose the destination TO which the files are imported in the destination panel on the right (usually "My Catalog"/hard drive).
8) Highlight the folder(s) in the source panel which you'd like to import. Check "New Photos" to import only photos that have not been imported previously.
9) Click "Import" in the lower right of the destination panel.
10) Once the import process is done, go to the Folders panel on the left -- navigate to & highlight the folder that you've just imported.
11) The unedited images will appear as a "film-strip" thumbnails at the bottom the screen. Depending on your setting, the center of the screen will either be a grid of previews or a single enlarged preview. If your setting is on grid, prepare for editing by clicking on a specific thumbnail image within the grid to enlarge it to a single preview.

You are now ready for editing! Check back next week for some basics on how to use the Develop Panel.
* * *
Importing your images from the camera/memory card into your computer is the one single most important step of the LR editing process. How you organize your files on your hard drive will determine the success of your overall workflow. Be rigorous. Be consistent. Most people organize their images by the date, one folder for each month of the year (April 2014, for instance).
*IMPORTANT: Once you've imported the files into your computer using LR, changing the names of your files, changing file structure or moving the folders around on your hard drive could be potentially disastrous, since LR won't be able to find the original files. You'll end up spending hours on remapping and relocating the files in LR.*
1) To maximize the capabilities of LR, try shooting in the RAW format, instead of JPEG. Most DSLRs and some Point-N-Shoots offer RAW. The RAW format takes up more room on your hard drive, but you will have more editing options in LR.
2) Once you've opened up LR, you will be in the "Library" module by default if this is the first time you're using LR. If not, click on the "Library" tab at the upper right of your screen. Your latest edits will be on the screen by default.
3) Click on the "Import..." button at the bottom left of your screen. The import window will pop up.
4) To import files that are already on your hard drive, set the import mode at the top of the window to "Add" so you could add a file to the LR catalog, without creating another copy of it on your hard drive.
5) To import files from your camera or memory card, set the import mode to "Copy" so the files are copied onto your hard drive and added to the LR catalog. The original files stay on the camera or memory card.
6) I do not suggest using the "Move" mode because your files are moved, not copied, from one location (camera, memory card or hard drive) to another. Essentially, the file is deleted from its original location and relocated to the new location in one step. It always makes me nervous to have just one copy of anything. It's always safer to make sure that the copy has arrived at its new location before deleting the original.
7) Choose the source FROM which to import in the source panel on the left (camera, memory card or hard drive). Choose the destination TO which the files are imported in the destination panel on the right (usually "My Catalog"/hard drive).
8) Highlight the folder(s) in the source panel which you'd like to import. Check "New Photos" to import only photos that have not been imported previously.
9) Click "Import" in the lower right of the destination panel.
10) Once the import process is done, go to the Folders panel on the left -- navigate to & highlight the folder that you've just imported.
11) The unedited images will appear as a "film-strip" thumbnails at the bottom the screen. Depending on your setting, the center of the screen will either be a grid of previews or a single enlarged preview. If your setting is on grid, prepare for editing by clicking on a specific thumbnail image within the grid to enlarge it to a single preview.
You are now ready for editing! Check back next week for some basics on how to use the Develop Panel.
13 May 2014
:: Photography Tips + Tricks: editing in Adobe Lightroom, part 1 ::
First, I'd like to thank EvolvedMommy.com for sharing my iPhonography tips and tricks in this article! As much as I love the portability of my iPhone and the one-of-a-kind look of iPhonography images, I still believe the SLR gives me a lot more flexibility. When edited with Adobe Lightroom, your images be so much more.
For professionals and amateurs alike, Adobe's Lightroom has quickly become the program of choice for editing, organizing and printing digital images.
Why Lightroom, as opposed to Photoshop? LR has a lot of the capabilities of PS, with these added features (but not limited to):
1) smaller file sizes - since LR saves your edits as previews, there's no large, unwieldy .PSD files to wrangle.
2) real-time editing - the results of your edits are shown in real time, you don't need to wait for your computer to process/render your edits.
3) faster editing - the LR tools are designed in such a way that glaring mistakes, such as over/under exposure or color/lens distortion can be easily corrected within seconds.
4) more intuitive - the interface is quite different from PS, it is somehow more user-friendly and easier to navigate (in my opinion).
5) batch processing - once you've edited one image, you can process the rest of your images in the same series by syncing them to the edited image.
6) presets - similar to actions in PS, LR presets allow you to program and save a customized sequence of processes to be used in future edits.
7) batch export - once you've finished editing, you could export the images all at once into a myriad of file types using customizable settings (medium, size, resolution, water-mark etc.)
8) less expensive - instead of paying hundreds of dollars for a copy of the PS program, you can purchase a fully licensed copy of LR for less than $140.00.
Generally, I import, edit and export in LR. However, I still use PS for more intricate touch-ups and to get the finished "look" that I want. Overall, for each image, I spend about 2 minutes in LR, export it as a JPEG, and spend another 2 minutes in PS to put on the finishing touches.
Come back next week to see how to import your images into the Lightroom catalog.
 |
| SOOC (straight out of camera): Canon 5D Mark ii | Canon 24-70mm L | 67mm/f2.8/ISO 800 |
 |
| Edited using Adobe Lightroom only, no Photoshop. I thought this moody, grainy image would be better in BW, so I custom converted it into a grayscale image, crop/straighten for better framing, increased clarity/contrast. I liked the exposure SOOC, so I did not modify it in LR. |
For professionals and amateurs alike, Adobe's Lightroom has quickly become the program of choice for editing, organizing and printing digital images.
Why Lightroom, as opposed to Photoshop? LR has a lot of the capabilities of PS, with these added features (but not limited to):
1) smaller file sizes - since LR saves your edits as previews, there's no large, unwieldy .PSD files to wrangle.
2) real-time editing - the results of your edits are shown in real time, you don't need to wait for your computer to process/render your edits.
3) faster editing - the LR tools are designed in such a way that glaring mistakes, such as over/under exposure or color/lens distortion can be easily corrected within seconds.
4) more intuitive - the interface is quite different from PS, it is somehow more user-friendly and easier to navigate (in my opinion).
5) batch processing - once you've edited one image, you can process the rest of your images in the same series by syncing them to the edited image.
6) presets - similar to actions in PS, LR presets allow you to program and save a customized sequence of processes to be used in future edits.
7) batch export - once you've finished editing, you could export the images all at once into a myriad of file types using customizable settings (medium, size, resolution, water-mark etc.)
8) less expensive - instead of paying hundreds of dollars for a copy of the PS program, you can purchase a fully licensed copy of LR for less than $140.00.
Generally, I import, edit and export in LR. However, I still use PS for more intricate touch-ups and to get the finished "look" that I want. Overall, for each image, I spend about 2 minutes in LR, export it as a JPEG, and spend another 2 minutes in PS to put on the finishing touches.
Come back next week to see how to import your images into the Lightroom catalog.
20 April 2014

07 April 2014

11 March 2014
:: Photography Tips + Tricks: creating a video out of your digital photos ::
Last time, I highlighted some creative ways of getting your digital photos onto paper. Today, I'd like to show you how to make a video/digital slideshow out of your digital photos.
Before we start, I'd like to mention a fun video app that will turn your so-so iPhone videos into fabulous vintage-y looking films reminiscent of home movies of the past. Similar to Instagram, the app 8mm allows you to use color/texture filters to create a old-timey 8mm digital movie in real time. Try it! It's a lot of fun.
Now, most people generally take more still images than videos. But how do you group all those images (and the occasional video) from your fabulous vacation together and share them with family and friends...digitally? The folks at Animoto has come up with a way for you to make and share beautiful video online.
Choose from one of their beautifully designed video styles, personalize using music and text, and voila! you have a professional-looking movie that you could proudly share. You could create a FREE 30sec personal web-quality video, or choose a pricing plan that will allow you to make longer, higher quality videos.
Other apps, such as Flipagram, allows you create beautiful, short video slideshows from photos directly from your camera roll or mobile albums. Great to use with Instagram or Camera+ images.
Before we start, I'd like to mention a fun video app that will turn your so-so iPhone videos into fabulous vintage-y looking films reminiscent of home movies of the past. Similar to Instagram, the app 8mm allows you to use color/texture filters to create a old-timey 8mm digital movie in real time. Try it! It's a lot of fun.
 |
| 8mm App | Nexvio |
* * *
Now, most people generally take more still images than videos. But how do you group all those images (and the occasional video) from your fabulous vacation together and share them with family and friends...digitally? The folks at Animoto has come up with a way for you to make and share beautiful video online.
 |
| Animoto - how it works |
 |
| Animoto - gallery |
* * *
You could also create similar video slideshows using iPhoto on your Mac. One of the issues I have with using iPhoto to create a video slideshow is that, depending on the number and quality of your images and the speed of your computer's processor(s), it could takes forever for the video to render. Meaning, once you've laid out the images, music and text together the way you want, the computer has to process the data in order to string them together. Another issue I have is, you have to first import your images into iPhoto, which for someone (like me) who stores all of my images on an external drive, it is a bit of a pain.
 |
| Apple iPhoto |
So go on, try these out. Judge for yourself!
10 March 2014

25 February 2014
:: Photography Tips + Tricks: print it ::
I like sharing digital photos online with family and friends. While it is not the most private, it is a great way to stay in touch ~visually~ with the global community. This trend has now crossed over to the portrait photography world -- more and more clients are requesting digital files. The digital format gives them the flexibility of sharing the images electronically, or having them printed them professionally/at home.
However, more often than not, most digital images don't even make it onto any sort of print medium. Instead, they take up permanent residence on your iPhone, iPad, digital camera card, flash drive, hard drive, the cloud etc. I am, unfortunately, just as guilty on this front as many of you.
There are in fact many convenient online printing services that allow you to upload your digital images temporarily, choose a medium onto which the images will be printed, and ship it to you in relatively short amount of time. Whether it's photo books or individual Instagram prints, there is something out there for everyone. While popular services such as Shutterfly and Snapfish are easy to use and relatively inexpensive, the quality is just not quite what I'm looking for.
One favorite printing service among the at home photographers is BLURB BOOKS. It offers three book-making design tools: 1) Instant Photo Books that allow you to import Instagram or Facebook images into the Blurb format , 2) downloadable BookSmart program for more customization on your computer, and 3) the Lightroom plug-in that allows you to integrate photo book design into your LR workflow. The modern aesthetic is perfect for simple, elegant books that document your life and can be displayed proudly on your coffee table. It also allows a variety of customization such as book sizes, paper quality, and paper finish. Blurb also offers soft cover books in the style of glossy magazines. Fabulous...right?! {psssttt...if you are so inclined, you could even turn these photo books back into ebooks to share online}
However, more often than not, most digital images don't even make it onto any sort of print medium. Instead, they take up permanent residence on your iPhone, iPad, digital camera card, flash drive, hard drive, the cloud etc. I am, unfortunately, just as guilty on this front as many of you.
There are in fact many convenient online printing services that allow you to upload your digital images temporarily, choose a medium onto which the images will be printed, and ship it to you in relatively short amount of time. Whether it's photo books or individual Instagram prints, there is something out there for everyone. While popular services such as Shutterfly and Snapfish are easy to use and relatively inexpensive, the quality is just not quite what I'm looking for.
 |
| Blurb |
Another favorite is AdoramaPix. You could not only choose from a variety of customizations, this New York City based service also offers attractive, easy-to-use templates for every taste. One really nice feature of an AdoramaPix photo book is that each page is printed on thick photographic paper. This feature gives the book a feel of substance substance and permanence. Another fantastic feature of an AdoramaPix photo book is that, when open, the books lay completely flat, allowing for panoramic spreads without gutters or seams. They also offer pre-designed layouts that are great for camera phone images. AdoramaPix also offers professional-quality prints at very reasonable prices.
 |
| AdoramaPix |
If you just want a simple, no-nonsense way to create a photo book from your Mac, try making a Apple Photo Book right from iPhoto. However, while the prices are very reasonable, the quality of the books are no where near that of Blurb and Adorama.
 |
| iPhoto |
For those of you who think a full-size photo book is overkill for Instagram/Camera+ images, services such as Printstagr.am will turn your camera phone images into inexpensive, flip-through, pint-sized Minibooks. Similarly, they will turn your images into dainty, perfectly shaped prints that you could display as a grouping on your wall or as a collection in a special bowl/vessel on your coffee table. Browse their products page for other hip products that could be used in a million different ways.
 |
| Printstagram |
 |
| Printstudio |
So get printing! Show off those photos!
14 February 2014

13 February 2014

04 February 2014
:: Photography Tips + Tricks : common missteps people make when taking smartphone photos ::
I've talked a lot about how to take spectacular smartphone photos, but less about how to correct common missteps we make with our smartphone cameras. So today, I am going to highlight some of those booboos and show you how to avoid them.
#1: NOT WAITING FOR THE RIGHT SHOT
We've all had this moment: your daughter/son is doing something incredibly cute and you scramble to get the iPhone out of your tight jean pocket or the cornucopia you call a purse/diaper bag. You drop the phone in your haste (and possibly shattering the ever precious touch screen), pick it back up quickly, and point in the general direction of the intended cuteness -- hoping to capture the fleeting moment. Instead, you end up with a useless shot that is so blurry and underexposed that you can't even tell if you were taking a pic of your child or someone else's.
FIX: Change your mindset. Be deliberate with your shots. Take a deep breath before you point the phone at your subject(s). Think carefully about what you are trying to capture and compose your shot purposefully to enhance the story you are trying to tell. Wait for the right moment to happen -- the perfect grin, the goofiest facial expression -- then snap! away. Voila! An image of which you could be proud. For more tips on composition, see here and here.
#2: UNDER OR OVER EXPOSED
Another common mistake folks make with their smartphone cams is under or over exposure -- the images either do not have enough light (under) or too much light (over). Instead of capturing the beautiful colors of a fall sunset, the camera automatically exposes for the darker parts of the composition and we end up getting an overblown sky that is white and not at all what you intended to capture.
FIX: While the smartphone is not as sophisticated as the dSLR when it comes to manually setting exposure, you could "fake it" by doing a little camera magic right on the touch screen. When composing a shot, take into account the amount of light and contrast in the scene. Using the above example, when taking pics of a sunset or sunrise, instead of letting the smartphone choose the exposure, tap the screen on the part of the composition that you are trying to highlight (i.e. the gorgeous purple and golden sky). A square will appear where you've tapped to show you that is where the exposure and focus are set.
#3: BORING POINT OF VIEW
The easiest thing for us to do, most times, is to take a photo where we stand -- especially if we are encumbered by 5 winter coats, a diaper bag, and a baby in an Ergo. Unfortunately, we often end up with, let's be frank, boring images.
FIX: Put down the winter coats and diaper bag. Tighten the straps on the Ergo. Get down on the ground, squat, get on your tippy toes. Shoot upwards, shot downwards, shoot sideways. Walk around and find that perfect perspective. Really look at your setting and figure out from which point of view you'd like to tell your story. Click here for more tips on finding your unique point of view.
#1: NOT WAITING FOR THE RIGHT SHOT
We've all had this moment: your daughter/son is doing something incredibly cute and you scramble to get the iPhone out of your tight jean pocket or the cornucopia you call a purse/diaper bag. You drop the phone in your haste (and possibly shattering the ever precious touch screen), pick it back up quickly, and point in the general direction of the intended cuteness -- hoping to capture the fleeting moment. Instead, you end up with a useless shot that is so blurry and underexposed that you can't even tell if you were taking a pic of your child or someone else's.
 |
| C2 having a cuddle with Scratchy Giraffe on the floor in her room. I knew this moment wouldn't last forever, so I took a deep breath, decided on a composition that would enhance this image and took the shot. |
FIX: Change your mindset. Be deliberate with your shots. Take a deep breath before you point the phone at your subject(s). Think carefully about what you are trying to capture and compose your shot purposefully to enhance the story you are trying to tell. Wait for the right moment to happen -- the perfect grin, the goofiest facial expression -- then snap! away. Voila! An image of which you could be proud. For more tips on composition, see here and here.
#2: UNDER OR OVER EXPOSED
Another common mistake folks make with their smartphone cams is under or over exposure -- the images either do not have enough light (under) or too much light (over). Instead of capturing the beautiful colors of a fall sunset, the camera automatically exposes for the darker parts of the composition and we end up getting an overblown sky that is white and not at all what you intended to capture.
 |
| Our master bedroom is on the third floor of our house, at eye-level with the canopy of mature trees. When the weather is good, we are treated to a beautiful panoramic view of the sunset. In order to capture the beautiful, intense colors, I usually have to manually adjust the exposure to make sure the colors are not blown out. |
FIX: While the smartphone is not as sophisticated as the dSLR when it comes to manually setting exposure, you could "fake it" by doing a little camera magic right on the touch screen. When composing a shot, take into account the amount of light and contrast in the scene. Using the above example, when taking pics of a sunset or sunrise, instead of letting the smartphone choose the exposure, tap the screen on the part of the composition that you are trying to highlight (i.e. the gorgeous purple and golden sky). A square will appear where you've tapped to show you that is where the exposure and focus are set.
#3: BORING POINT OF VIEW
The easiest thing for us to do, most times, is to take a photo where we stand -- especially if we are encumbered by 5 winter coats, a diaper bag, and a baby in an Ergo. Unfortunately, we often end up with, let's be frank, boring images.
 |
| During this crisp late Spring day, I was so enthralled by the contrast between O's fushia sandals and the neon green clover that I had to take a shot. In order to tell my story effectively, I asked O to sit down on the clover and got on a higher plane and took the shot from above. |
FIX: Put down the winter coats and diaper bag. Tighten the straps on the Ergo. Get down on the ground, squat, get on your tippy toes. Shoot upwards, shot downwards, shoot sideways. Walk around and find that perfect perspective. Really look at your setting and figure out from which point of view you'd like to tell your story. Click here for more tips on finding your unique point of view.
28 January 2014

21 January 2014
:: miss amanda jones ::
Love that song...especially during the scene where Eric Stoltz, Emma Thompson and Mary Stuart Masterson were getting ready for THE BIG DATE. Classic. Love it. But I digress...
I had a lot of fun with this beautiful soon-to-be HS graduate. From Amanda's gorgeous smile and laid back demeanor, you couldn't even tell that it was absolutely f-r-e-e-e-e-e-z-i-n-g!!!
This is only a sneak peek...more to come soon!

I had a lot of fun with this beautiful soon-to-be HS graduate. From Amanda's gorgeous smile and laid back demeanor, you couldn't even tell that it was absolutely f-r-e-e-e-e-e-z-i-n-g!!!
This is only a sneak peek...more to come soon!
15 January 2014

14 January 2014
:: Tips + Tricks: getting back in the saddle again ::
 |
| COWGIRL | ISO 1600 | 35mm | f/2.8 | 1/60 sec |
I'm back in the saddle again
Out where a friend is a friend
Where the longhorn cattle feed
On the lowly jimsonweed
Back in the saddle again
Out where a friend is a friend
Where the longhorn cattle feed
On the lowly jimsonweed
Back in the saddle again
~Gene Autry
After a few weeks of self-imposed hiatus, I'm back! The time off has really helped to clear and reset my brain. So here's today's Tips + Tricks (and sort of a resolution really): SLOW DOWN, CLOSE YOUR EYES, and TAKE A DEEP BREATH (or two). Even if it means ducking into the bathroom for some quiet time away from a gaggle of children who are excited to get back to school and see their friends :-) You will be the better for it.
I know with this unpredictable wintry weather, it is hard to imagine Spring is almost here. But it is not too early to start thinking about Spring Photo Sessions! Pretty pastels and darling frocks...can't wait! Sooo...email me if you'd like to schedule a Spring Signature Photo Session or stick around for more info on this year's Spring Minis.
Happy belated New Year!!!
Subscribe to:
Posts (Atom)